Table Of Content
Now I can move it around as a unit, right? But, when I go to cut it, I’m still not going to get them overlapping. They’re still gonna be side to side. So group is something that we do to keep files together as we’re designing, but not something we do to keep files together all the time. Now, down here, here at the bottom, when we have, we have other options.
How to: Save and Share Projects with Design Space®
You can save things for offline to work without internet, but so I’m gonna select it here and change it to this. Let’s go ahead and change its style, because right now its style, and here’s the style menu, it’s set to regular. Well, regular is the cutting font. We need the writing font, the writing style.
Make it: Paper Flowers
We'll cover how to work with images in Design Space, cut cardstock, assemble paper flowers, and how to embellish a project with paper flowers. Now, if you wanna learn more about Cricut Design Space, I invite you over to my blog at for hundreds of free Cricut tutorials and projects. I also have a helpful guide called the Cricut Coach Playbook that contains dozens of cheat sheets for Design Space. This is a very popular guide that has been used by over 300,000 Cricut owners. Seriously, we just ticked over that at the time that I’m recording this video and I personally find it helpful and so do they.

Get a tour of Cricut Design Space and learn the basics of how to use it!
How To Start Your Own Cricut Business in 8 Steps (2023) - Shopify
How To Start Your Own Cricut Business in 8 Steps ( .
Posted: Fri, 30 Jun 2023 07:00:00 GMT [source]
We’re not going to go into all of those tonight. Just know that there’s lots of things that you can do and I have many tutorials explaining them if you want to know, but for now I wanna center it. So I’m gonna go to Alignment and choose center and now our text is centered. Awesome, so now we need to change this font to a writing font.
So we’re looking to make sure that things are on the mats the way that we think they should be. Do we see our drawing where we expect it to be? Over here, it’ll say, these are the two colors.
This should be a free font for everybody, so we can click it. We’re not gonna really go over that tonight, but just know that you can definitely do that. And let me zoom in so you can see that better. All right, so we’ve got it resized.
Cardmaking Tips Every Cricut Maker Should Know
If we welded them right now, what will happen is they become one image and they will change to be the same color. So now they’re both purple, and they’re one image. They’re glued together permanently. The only way to undo a weld is to like immediately undo it.
And you’ll notice that it’s also already attached to the card, but this new layer that we’ve made is not attached. We need to attach that to our card. Otherwise, your Cricut will want to write this on nothing. So right now it’s just a text, but we haven’t said where we’re gonna put it, and it’s independent.
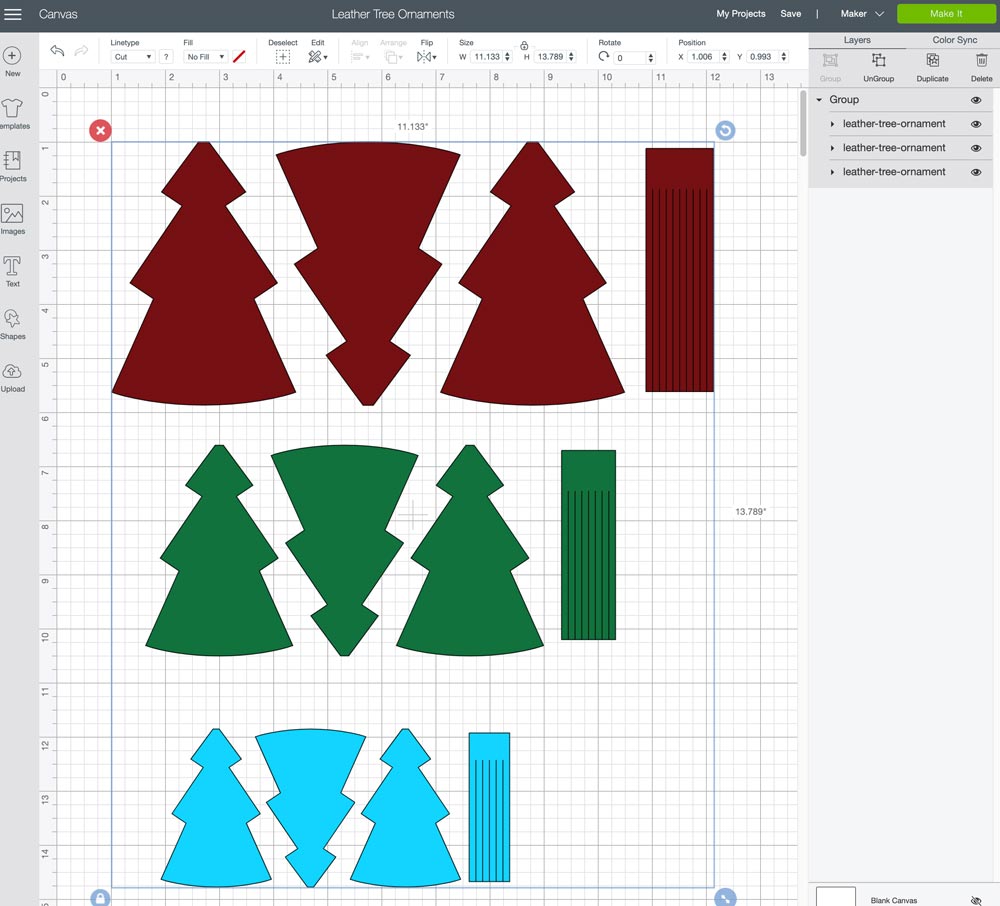
The Cricut Design Space Canvas
If you need to keep things together on your mat, you need to use attach. We have our certificate layer here and then we have our frame. This is our frame for our certificate and we are ready to go.
There’s nearly 400, although by the time that you’re watching this video into the future, there could be a lot more. So right now, this project that we’re doing tonight is at the top of the list, but it might not be when you see it. All my projects are numbered so you can find them easier. All right, so when you are in my library, the first link that you see goes to the file itself. And my signature here is already preset to draw for you, I did that.
We’re over 430,000, if you can believe that. Get links to those classes at cricutkickoff.com. Okay, so it’s well adhered to our mat.
It keeps track of the sizing and whether you have the tools for that sort of thing. But we have that, we’re set to the Maker right now and so if I go to line type, I get a whole bunch of options on what I can do with this heart. So I can cut it, which is the default. And if I do that, I just get an outline, because this is just gonna draw around the outline.

You’ll notice a little icon with that same image shows up here. You can select more than one at a time, so I can click on that butterfly too, and it shows up right next to it. So if I keep scrolling and I’m like, oh, hey, I want a snail too. But I just want the deer, so we’re gonna go up and unselect that one. And I wanna click on insert images. This will put the image onto my canvas so I can manipulate it just like those two hearts that we had.
So you’ll have one complete heart and one partial heart, which probably isn’t what you wanted, but maybe it was. No, my best advice here is to play with Cricut Design Space. Press all the buttons and try all the menu items. This really is very user-friendly software. All right, so let’s talk about using the images that are in Design Space.


No comments:
Post a Comment